
Starting a painting project? Pressure washing is a crucial first step to ensure a flawless and long-lasting finish. It's more than just blasting away dirt; it's about creating the ideal surface for paint adhesion. Let's dive into the how-to for pressure washing and painting prep.
Why Pressure Wash Before Painting?
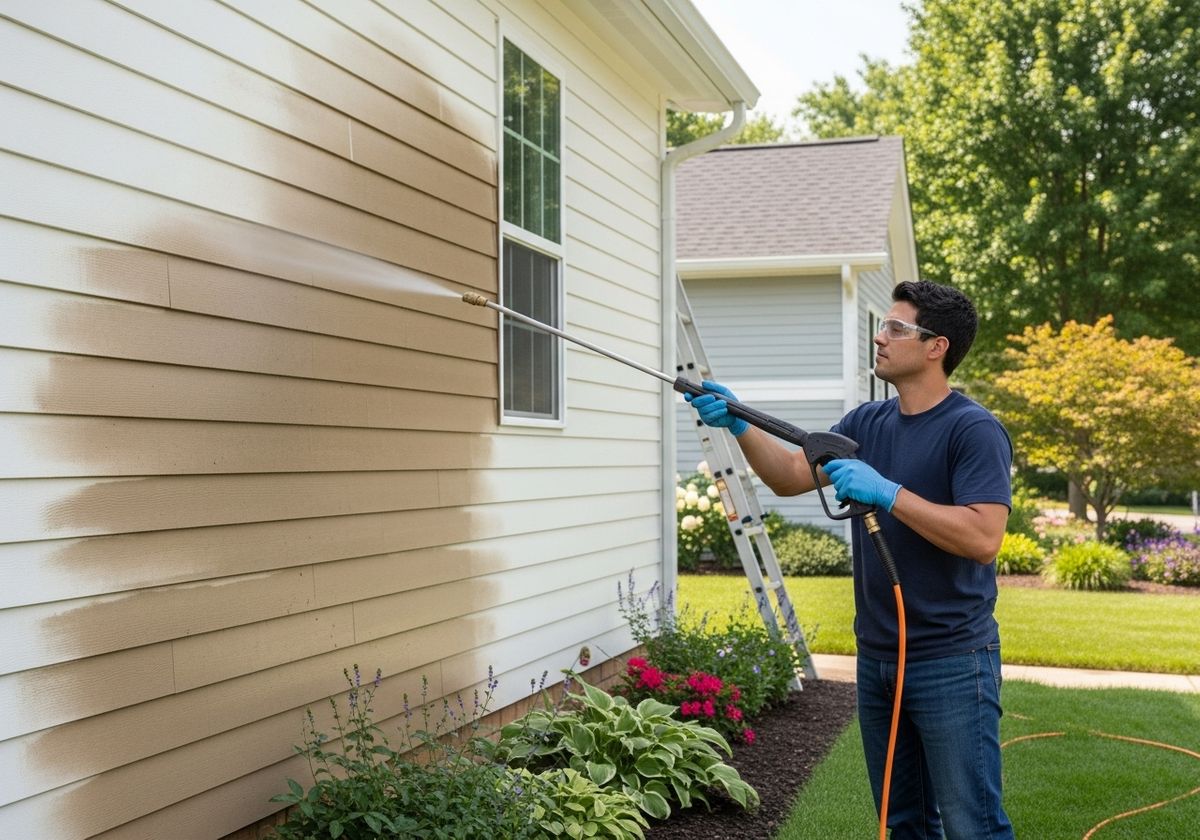
Think of your home's exterior as a canvas. Over time, it accumulates dirt, grime, mold, and mildew. Painting over these contaminants is like painting on a dirty canvas – the paint won't adhere properly, leading to peeling, blistering, and a generally poor outcome. Pressure washing removes these unwanted layers, providing a clean, sound surface for the paint to grip.
Gathering Your Supplies
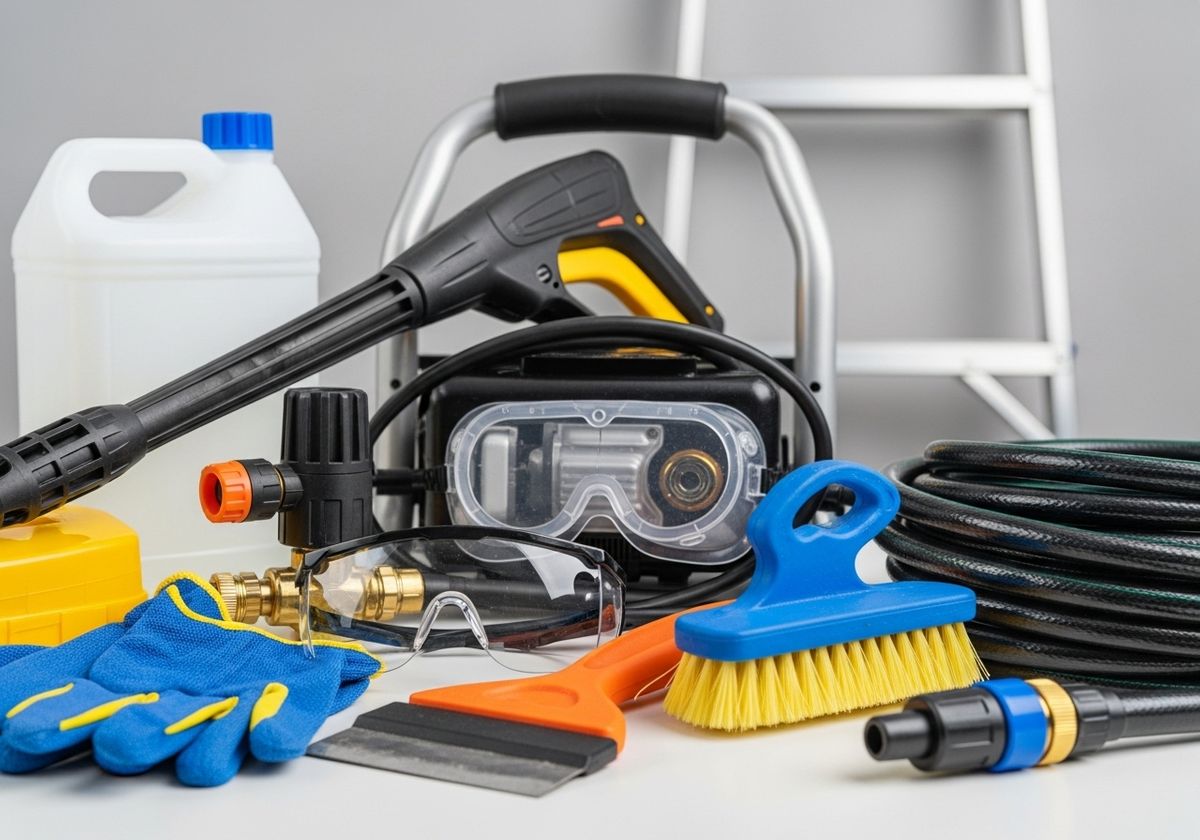
Before you start, gather these essential items:
Pressure washer with adjustable nozzle
Suitable cleaning solution (check paint manufacturer recommendations)
Safety glasses and gloves
Stiff-bristled brush
Scraper for loose paint
Garden hose
Ladder (if needed)
Step-by-Step Pressure Washing Guide
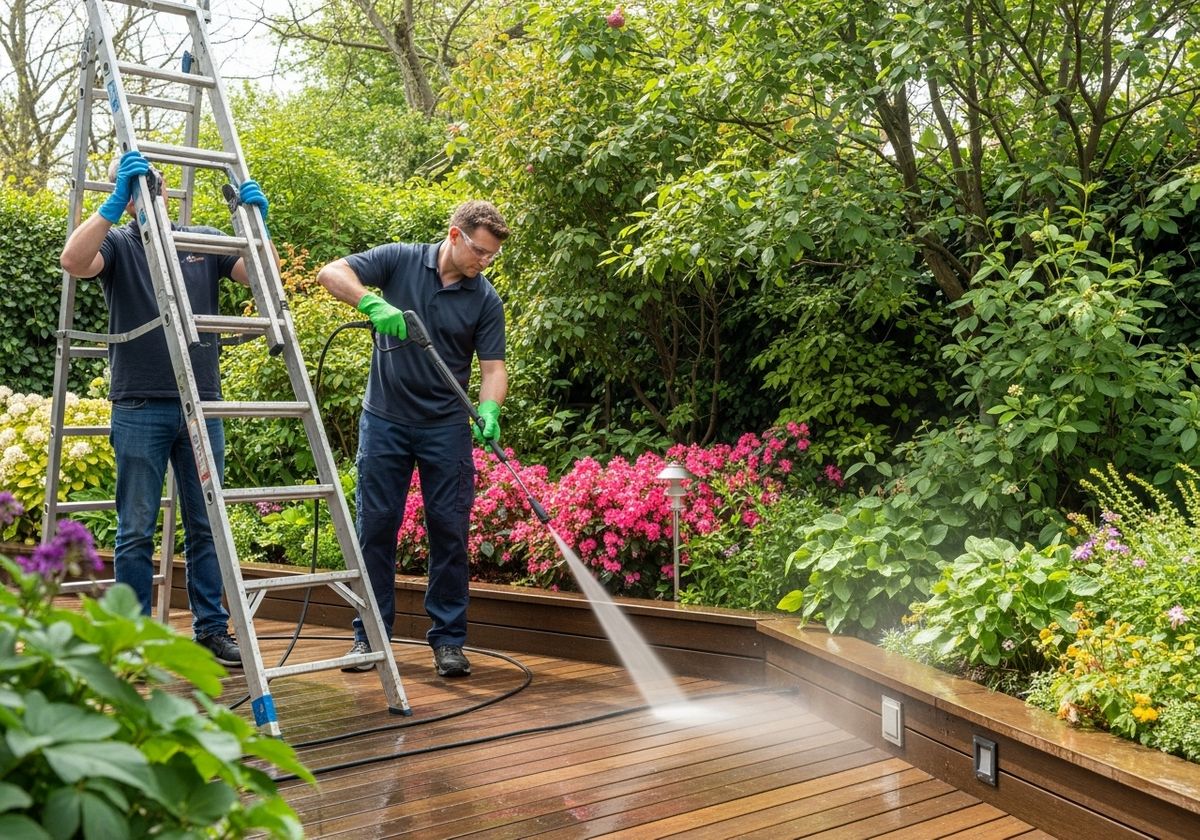
Prep the Area: Clear away any plants, furniture, or other objects from the area you'll be washing. Cover any delicate vegetation you can't move.
Inspect the Surface: Look for any loose paint, damaged areas, or signs of rot. Scrape away loose paint and address any necessary repairs before washing.
Apply Cleaning Solution: If using a cleaning solution, apply it with a low-pressure nozzle or a garden sprayer, following the manufacturer's instructions. Let it dwell for the recommended time.
Pressure Wash: Start with a wide nozzle and low pressure to avoid damaging the surface. Work from top to bottom in overlapping strokes, maintaining a consistent distance from the surface. Increase pressure gradually as needed, but always be cautious.
Rinse Thoroughly: Once you've washed the entire area, rinse it thoroughly with clean water to remove any remaining soap or debris.
Inspect Again: After the surface dries, inspect it again for any missed spots or areas needing further attention. Touch up as needed.
Post-Washing Prep: Ensuring a Perfect Paint Job
Pressure washing is just the beginning. After washing, it's time to focus on other repairs and prep work. This includes things like repairing gutters, seamless house gutters, addressing any damaged siding, and caulking gaps around windows and doors. If you're hiring interior painting contractors, this step ensures they have a solid foundation to work with.
Safety First!
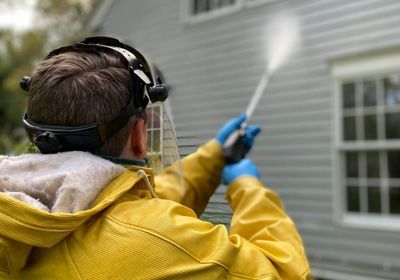
Always wear safety glasses and gloves to protect yourself from flying debris and harsh chemicals.
Never point the pressure washer at people, pets, or electrical fixtures.
Use caution when working on a ladder. Have someone spot you.
Be mindful of the environment and avoid spraying excessive amounts of water or chemicals into storm drains.
Pressure washing is an investment in your painting project's success. By properly preparing the surface, you'll ensure a longer-lasting, more beautiful finish. Remember, proper preparation is key to a professional-looking paint job. If you'd rather leave it to the pros, ProPerformance Painting is here to help. Contact us today for a free quote and let our experienced team handle the pressure washing and painting prep for you! We are leaders in the painting contractor industry and guarantee a great experience. Check out our website to learn more about our services and see how we can transform your home.